Trusted HP laptop repair across South East London
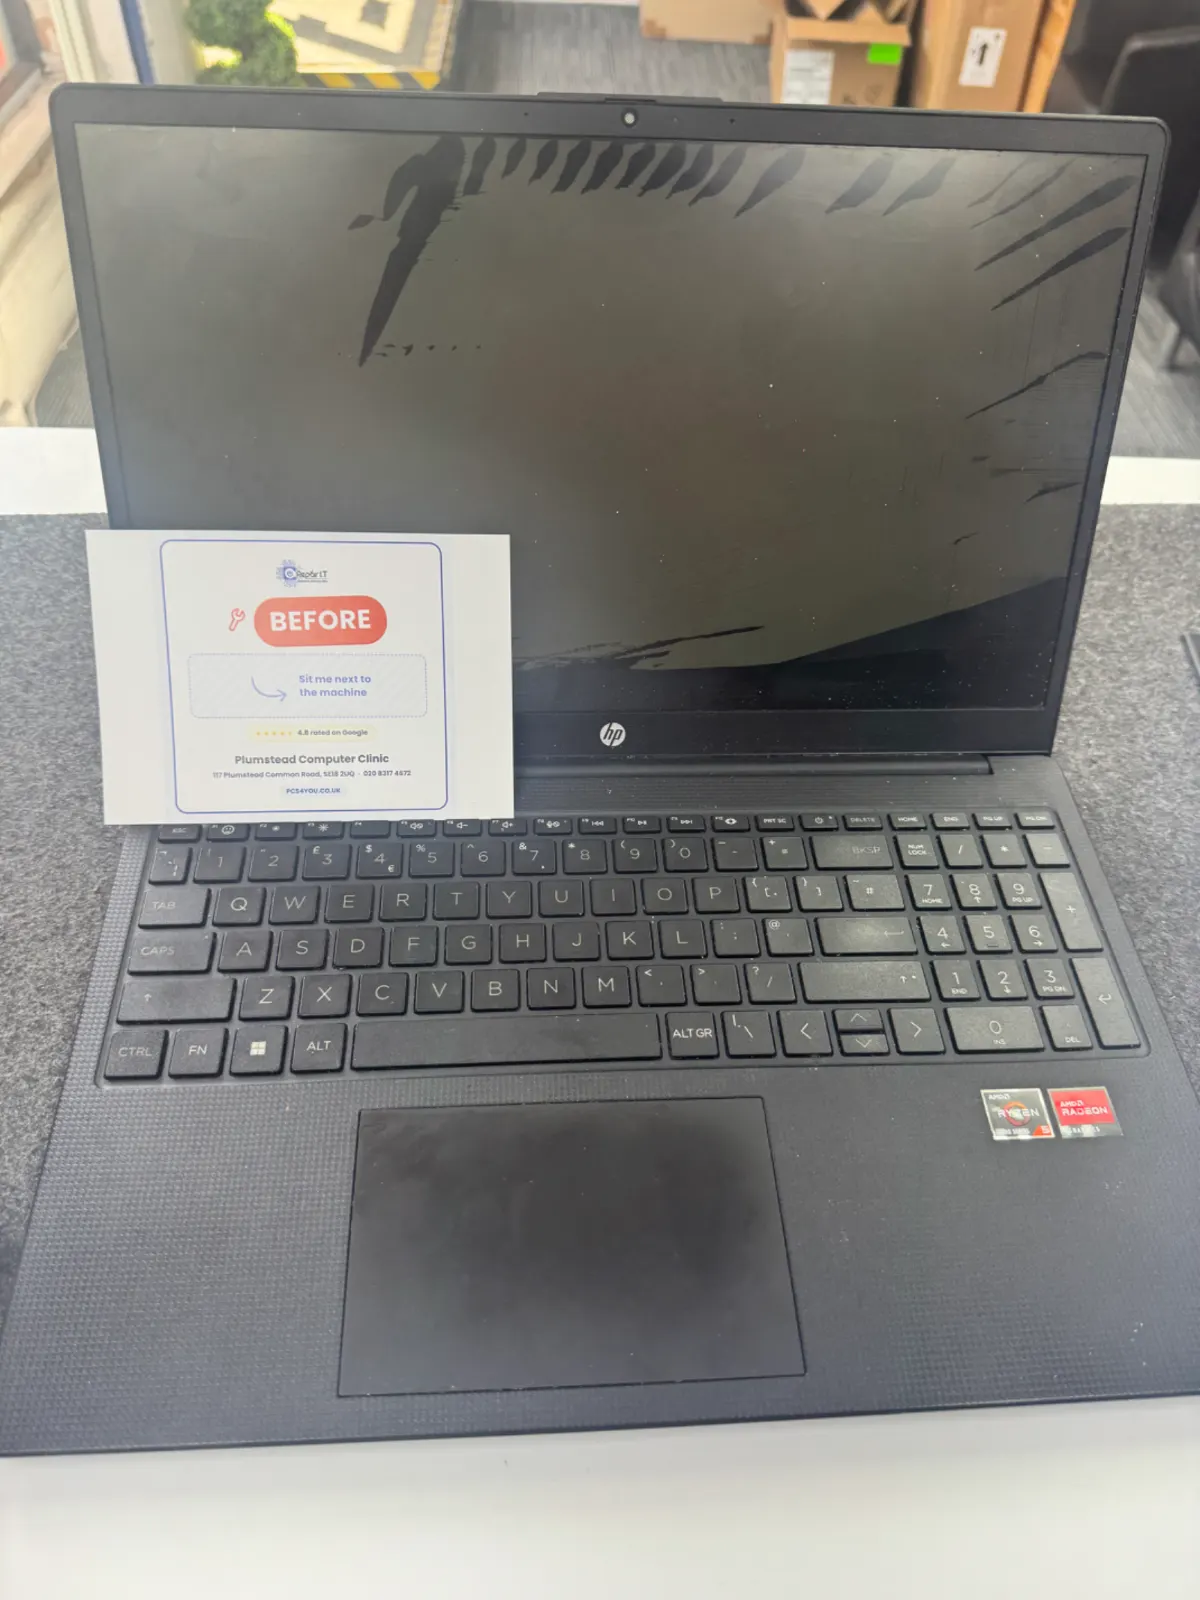
Whether your HP laptop has a cracked screen, a dead battery, a noisy fan or simply will not turn on, our technicians repair it in-house using quality-grade parts and a 90-day warranty.
Common HP laptop faults we fix
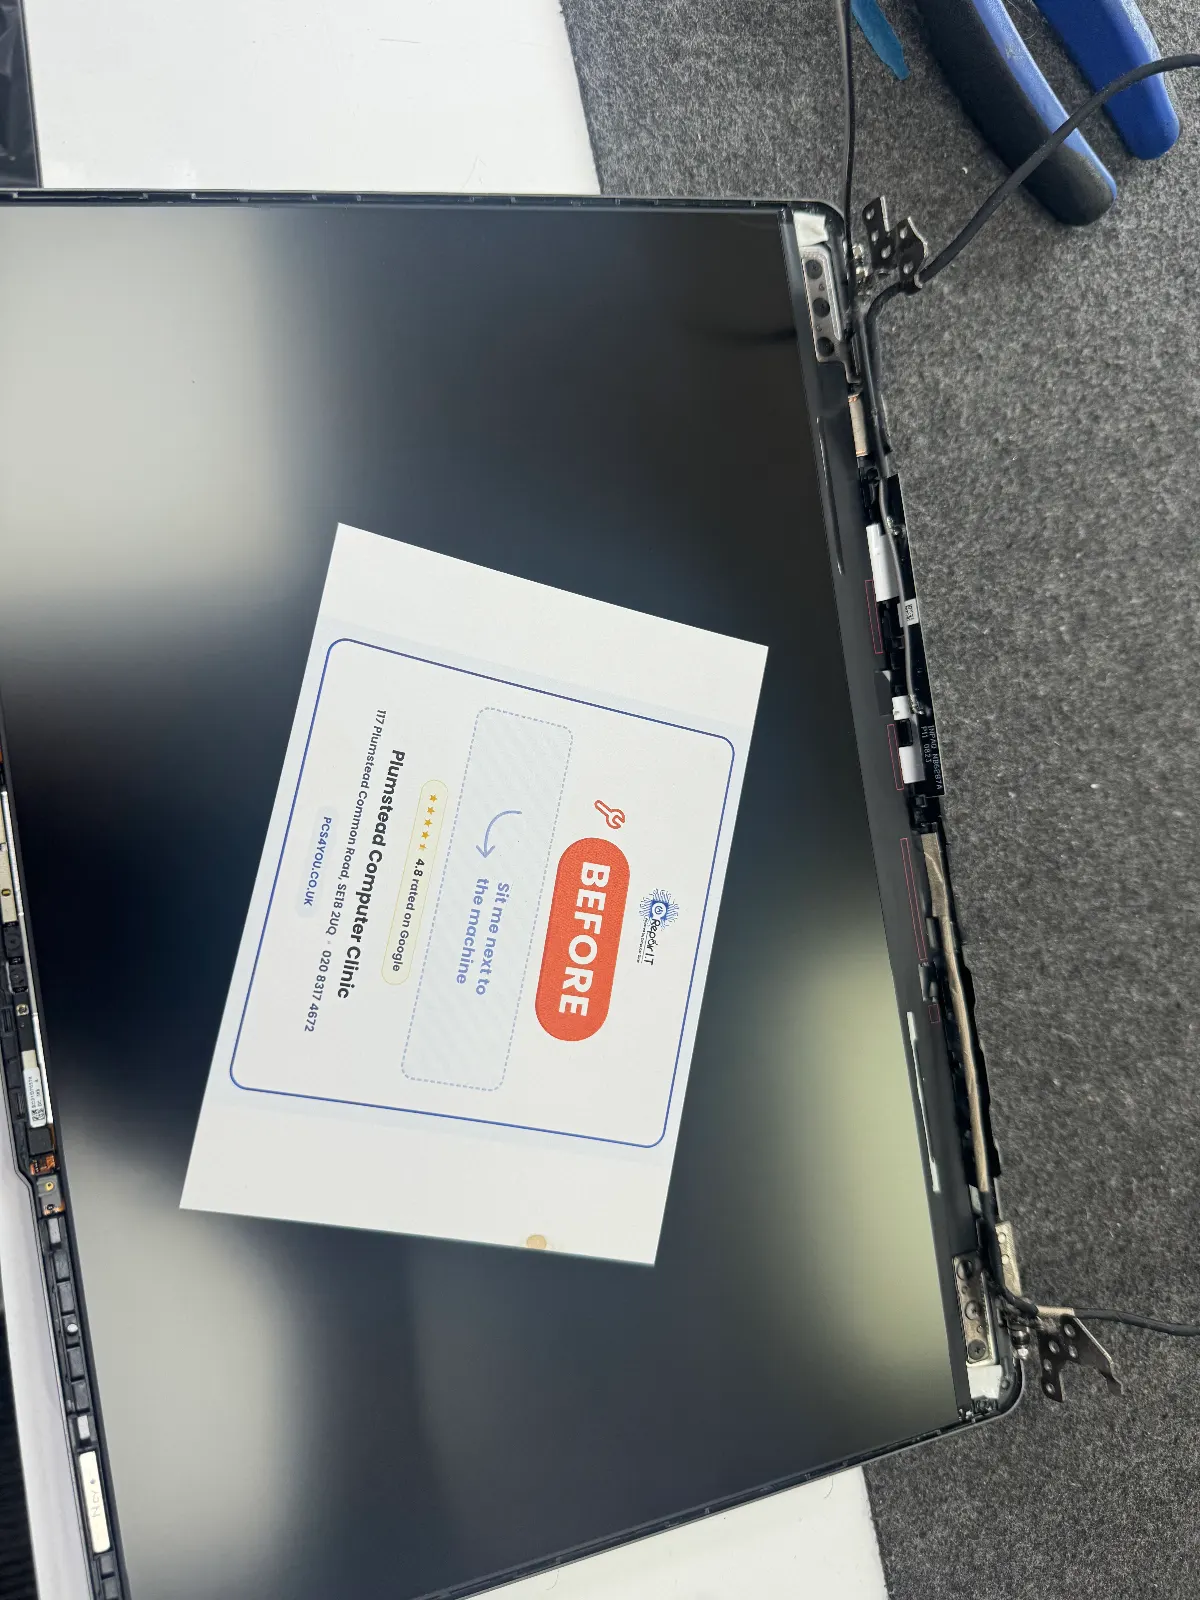
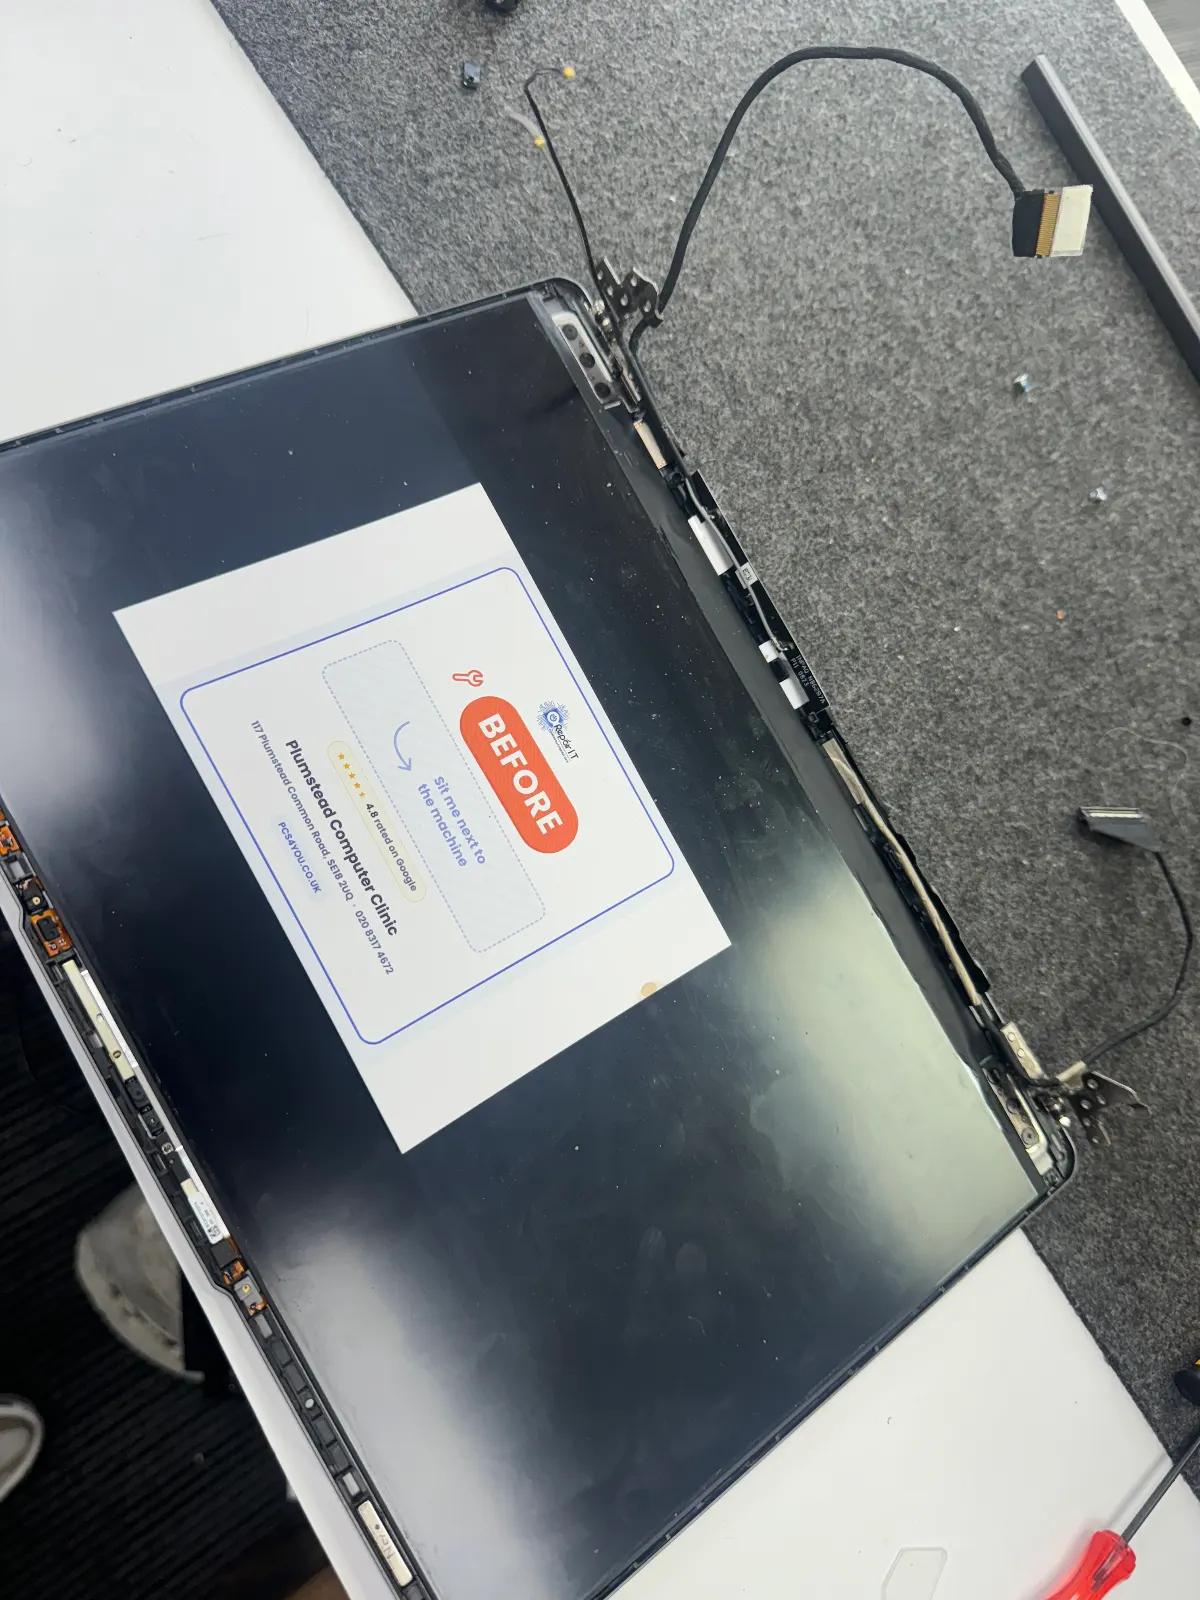
- Cracked or flickering screen
- Battery that will not charge or hold power
- Sticky or broken keyboard keys
- Slow performance, SSD and RAM upgrades
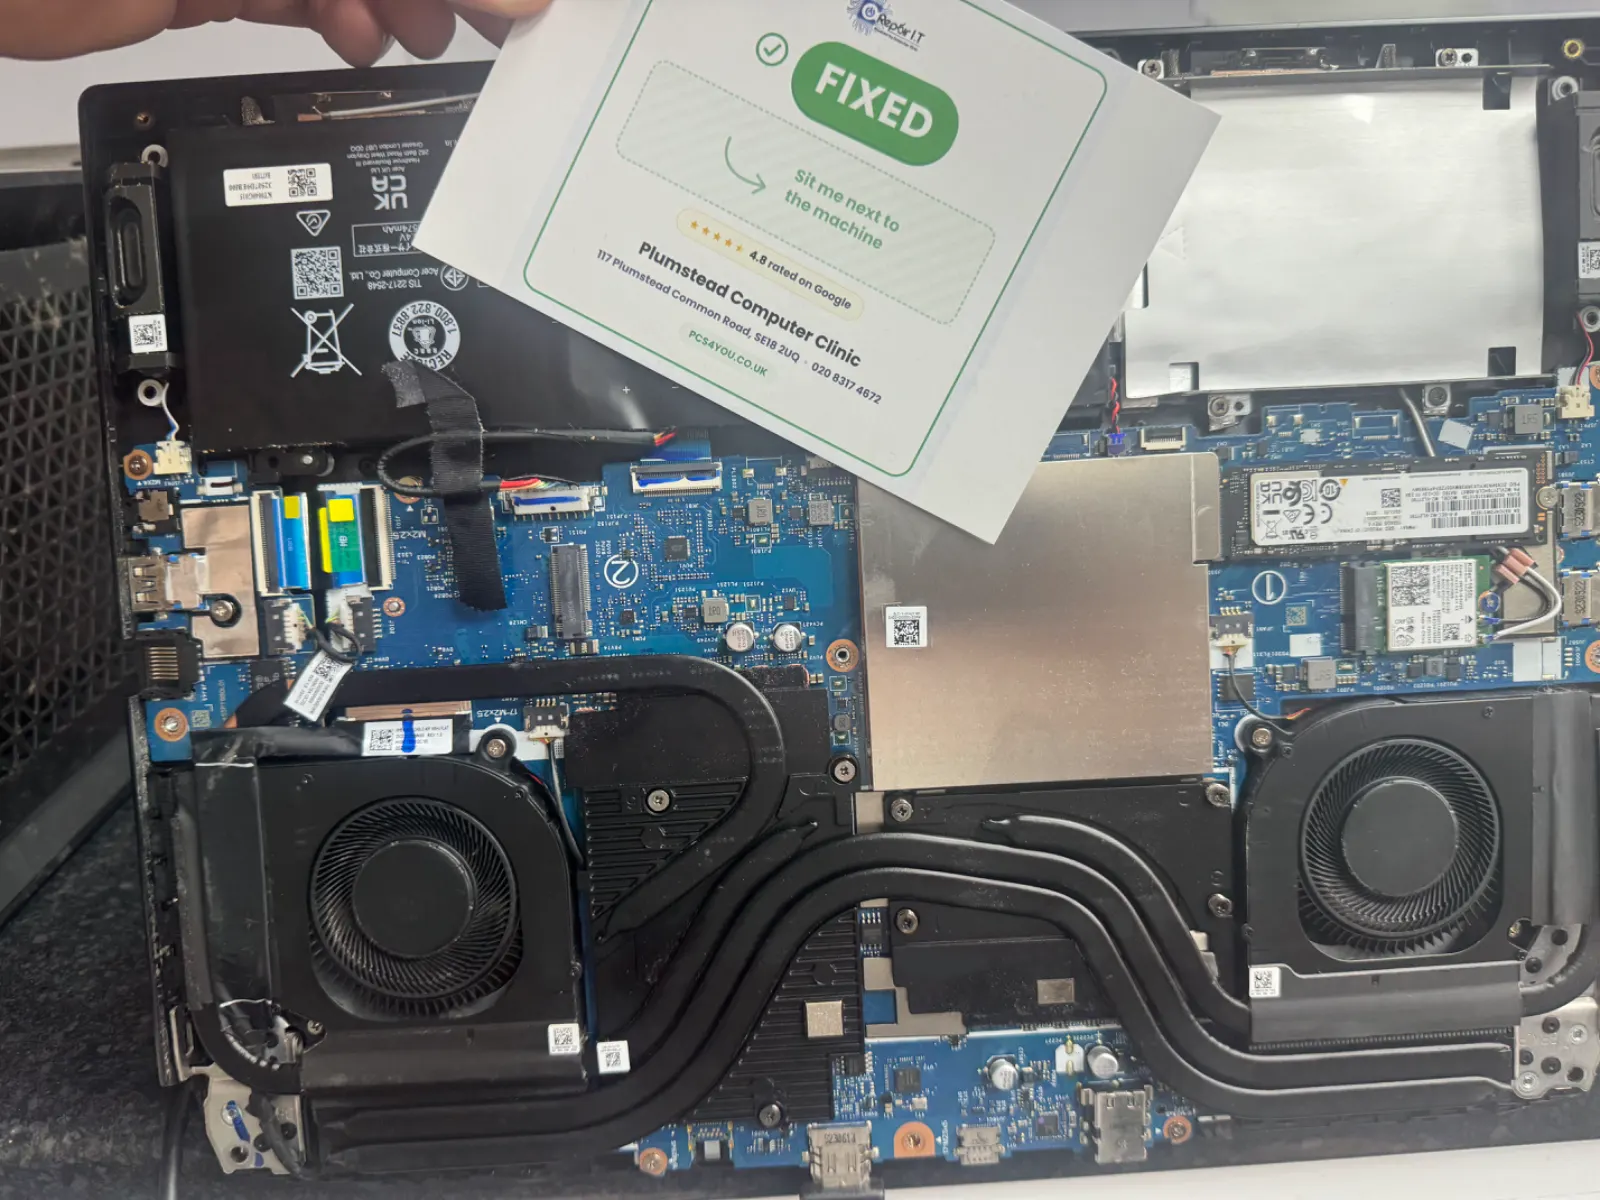
- Liquid damage and motherboard repair
- Hinge and chassis damage
💡 Key Takeaways
- The Triage-to-Tool Ratio helps decide if repairing an HP laptop is economical by comparing repair costs to the device's remaining useful life.
- Before opening an HP laptop, check its warranty status and run built-in UEFI diagnostics to identify error codes and avoid voiding coverage.
- A hard reset is a low-risk first step for many HP Pavilion and Envy power issues, often resolving "no power" or "no boot" complaints.
- The Maintenance and Service Guide is essential for sourcing correct OEM part numbers, as buying by model name alone frequently leads to incompatible parts.
- Rule of thumb (UK, 2024): if parts plus roughly two hours of your time comes in under approximately £100 and the laptop is under five years old, repair usually makes sense.
- HP Spectre models commonly experience hinge failure and thermal throttling, which require specific repair considerations as detailed in their service guides.
Black Screen Panic
A blank screen on an HP Pavilion or Envy is usually far cheaper to fix than it looks. Most people staring at a dead panel are a few diagnostic steps away from a working machine, not a new one.
Before you open the case, run HP UEFI diagnostics, perform a hard reset, and test an external monitor via HDMI. Shine a torch at the panel to check for a dead backlight. Parts for most panel and cable faults come in under £40.
If the battery is visibly swollen, stop immediately. Power down, disconnect the charger, and do not press or puncture it. Take it to your local e-waste facility.
Triage-to-Tool Ratio for HP Repairs
Successful HP laptop repair starts with one question before you order a single part: is the fix actually worth it? The Triage-to-Tool Ratio gives you a practical way to find out, weighing the direct cost of parts and your time against the remaining useful life of the machine.
- Run a warranty check and UEFI diagnostics first
- Estimate parts cost plus honest time investment
- Choose DIY for safe fixes, or go to a professional for everything else
Formula: Repair total = parts cost + (your hourly rate × estimated hours) + a small risk buffer. Compare this against replacement value and remaining CPU life.
A minor fault can feel catastrophic when the machine is central to your work. The Ratio cuts through that emotional noise and turns a stressed gut reaction into a structured decision. Recent Pavilion, Envy and Spectre models are modular with documented disassembly steps, which trims labour time considerably and often pushes the numbers firmly toward repair.
Immediate checks before you open the case
Run through these before touching anything physical. They take only a few minutes and can stop you voiding your warranty or ordering parts you never needed.
Check warranty and support status via HP's warranty page using the serial number. This single step occasionally surfaces a free repair route and prevents accidental loss of coverage. If the device is still under warranty, use the authorised path, full stop.
Run the built-in HP PC Hardware Diagnostics UEFI from the boot menu and photograph any error codes. Support teams and repair shops will ask for the exact code. Also pull up the for your model to confirm which components are user-removable before you unscrew anything.
When comparing service options, use HP's authorised service locator alongside quotes from local bench shops. Ask each for an itemised quote specifying OEM parts, and include your postcode and serial number when requesting estimates. Pricing varies noticeably by region and model.
Step-by-step system, Micro-summary of the diagnostic path
Four stages: hard reset → UEFI diagnostics → part number check → physical intervention. In practice, many faults resolve before you reach stage three, and most unnecessary spend happens when people skip diagnostics and order parts too early.
Step 1, Hard reset: why it works and how not to break things
On any power-fail report, this should be the first thing you try. Power down, unplug the charger, remove the battery if it is accessible, then hold the power button for around 15 seconds to discharge residual charge. If the battery is sealed, follow the service guide for that exact model rather than attempting to prise the base plate open blind.
This clears a surprising number of "no power" and "no boot" complaints on Pavilion and Envy machines. It is low risk when done correctly and costs nothing. One caution: do not remove the CMOS battery unless the service guide for your specific model explicitly calls for it.
Step 2, Component isolation using HP UEFI diagnostics
Run from the boot menu to separate RAM, storage and battery faults from a motherboard problem. The tool generates specific error codes, so note the exact code before contacting support or visiting a repair shop.
Always run the extended RAM and storage tests, not just the quick pass. Extended tests catch intermittent faults, particularly RAM errors, that a single quick scan will miss. Common UEFI codes map roughly as follows: 2000-0143 (storage and HDD), 2000-0113 (RAM), 2000-0413 (battery). Record the exact code and include it whenever you contact HP support or request a repair quote.
If everything passes but the fault persists, suspect power delivery: the battery, adapter or DC jack. Clean diagnostics with a continuing fault is actually a worse sign than a clear error code, since it points toward intermittent hardware behaviour that is harder to isolate without test equipment. A technician will find the root cause faster and with considerably less risk than further DIY disassembly.
Step 3, Parts sourcing: using the Maintenance and Service Guide effectively
The gives exact part numbers, screw lengths and the correct removal sequence for your specific model. Buying by model name alone routinely results in the wrong part, wasted returns and lost time. Always source by HP part number, not by model name.
Cross-checking the part number also confirms whether a component is user-removable. Batteries and SSDs are usually straightforward; glued screens and complex hinge assemblies are a different matter. The HP Parts Store lists components by part number and is the most reliable starting point for an accurate match. Authorised resellers can often source the same item faster than going direct, and reputable ones will confirm the OEM part number before dispatch.
For time-sensitive or business-critical repairs, paying a small premium for the correct OEM component is almost always cheaper than the delays a wrong part introduces. Be cautious of generic or unbranded alternatives, particularly for batteries and screens, where substandard parts carry a real safety risk.
Step 4, Physical intervention: pragmatic cautions for non-technical users
Open only what you must. Every additional panel is another opportunity to lose a screw or snap a clip, and either can turn a simple job into a workshop visit. Label screws, take staged photos before each step, and if you meet real resistance, stop and recheck the service guide for hidden fasteners.
Rusted or stripped screws are a hard stop. Forcing tools damages boards and adds cost. Note also that some HP models use JIS screws rather than Phillips; a standard screwdriver will strip the head before you realise what has happened. Confirm the screw type in the service guide before you start.
Real scripts, what to say to HP support and to a local repair shop
Script for HP support (out-of-warranty leniency): "My HP Pavilion x360 has [symptom]. I ran UEFI diagnostics: [code/result]. It's in daily use, are there goodwill or discounted repair options for a returning customer?"
Script for a local repair shop (to confirm OEM parts): "Please use the OEM part number [from the service guide] and show me the part before installation. I need a photo of the label and an itemised quote for parts and labour."
When contacting any local bench shop, include your serial number so they can price accurately. Ask specifically whether they will fit OEM parts and request written confirmation before the job begins. Independent shops vary considerably in parts quality, so it is worth comparing their quote against an HP authorised service centre before committing.
Starter fixes and advanced interventions
The low-risk, high-return jobs are well established: replacing a bulging Pavilion battery, swapping in an SSD on a slow machine, reseating RAM on Envy models. Most take under an hour and frequently restore full function. If the battery is bulging, stop using the laptop immediately and do not attempt to flatten the pack.
Advanced work, re-pasting CPU thermal compound, replacing a cracked hinge, fitting a full screen assembly, requires proper tools and a steady hand. It is only worth attempting if the machine still has meaningful life in it. Most people underestimate how long hinge work takes the first time through, sometimes considerably. For complex faults, a bench repair shop brings the test equipment and experience to avoid repeated disassembly, and is often the more cost-effective route for business use.
Spectre-specific faults: hinge failure, display cable routing and thermal throttling
Spectre models, particularly the x360 convertible range, have their own failure patterns. HP Spectre repair does not behave like Pavilion or Envy servicing, and treating them the same way is where most mistakes happen.
Hinge failure is the most common hardware complaint on the Spectre line. The x360 hinge endures repeated rotation stress, and the barrel can crack the chassis surround or sever the display cable where it passes through the hinge channel. The cable routing through the hinge spine must be exactly right on reassembly; get it wrong and the fault returns within weeks.
Display cable removal needs care. The cable runs along the hinge spine and is held by adhesive rather than clips. Pulling it free cold risks tearing the connector end. A brief pass of warm air along the cable run softens the adhesive enough for clean removal without damaging nearby plastics.
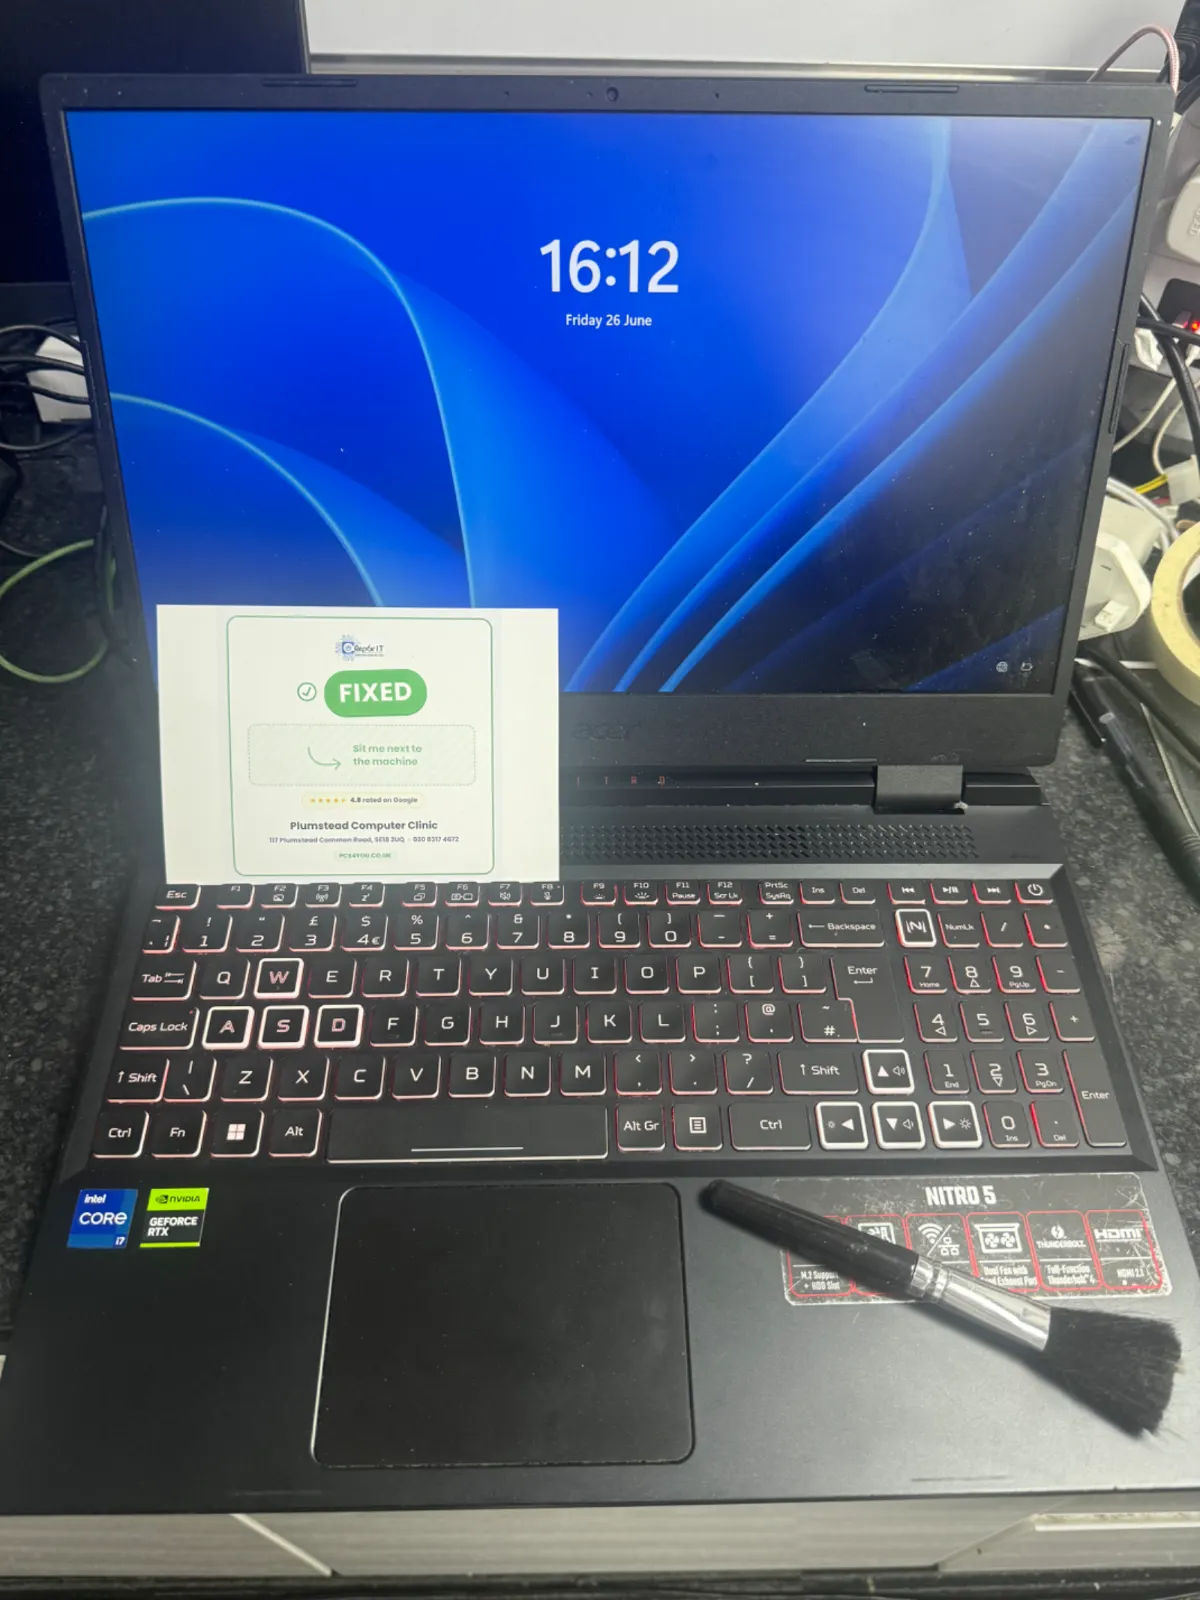
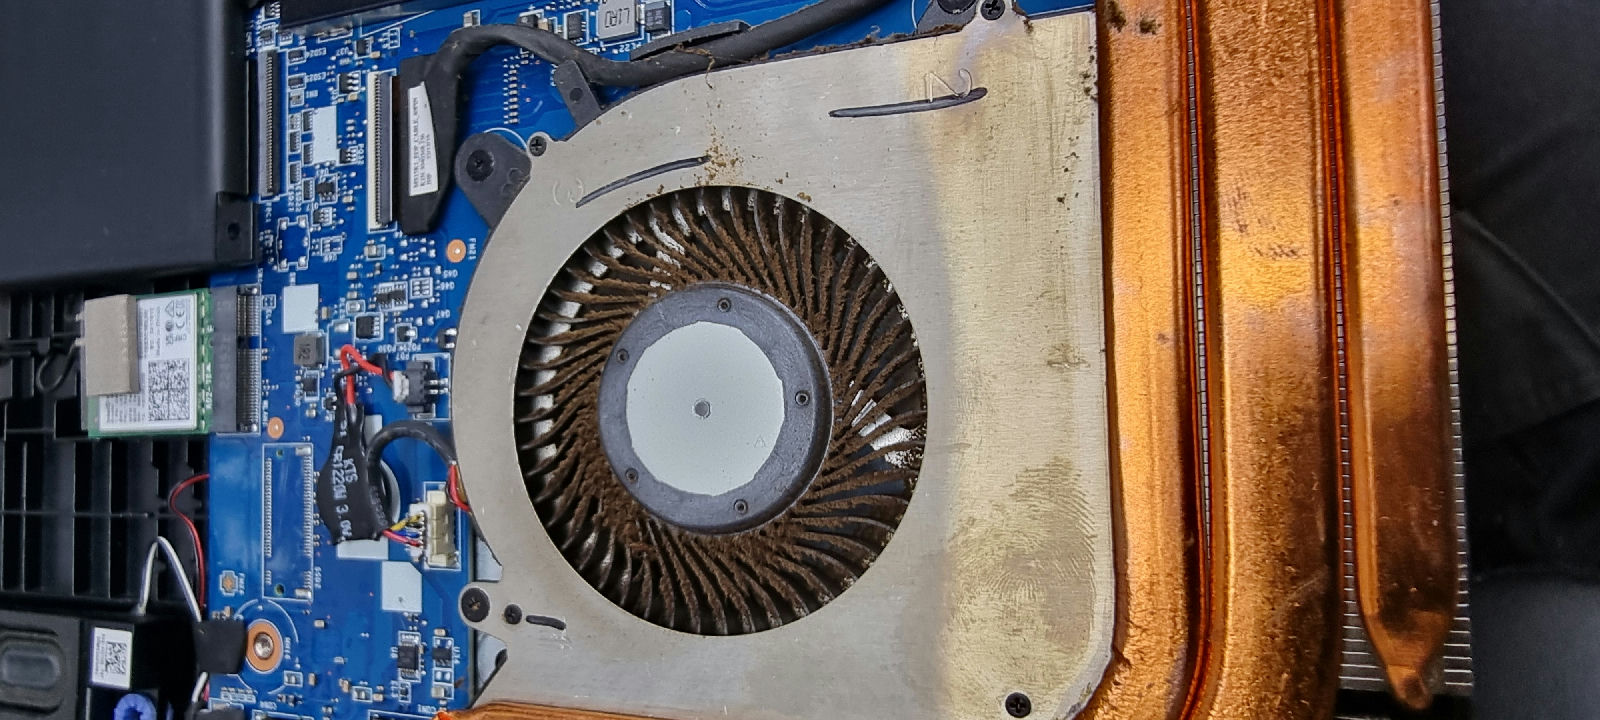
Thermal throttling is a known issue on older Spectre x360 units, particularly those with 10th and 11th generation Intel CPUs. The thin chassis limits airflow, and once the thermal paste between the CPU die and heat pipe degrades, sustained workloads drop clock speeds noticeably. Re-pasting with a quality compound and clearing the fan outlet of dust typically resolves it. Consult the HP service guide for your specific x360 model before starting, particularly to confirm heat pipe removal order, since Spectre disassembly is more involved than Pavilion or Envy teardowns.
The Spectre x360 is a well-engineered machine that punishes impatience. Budget twice as long as you think you need, and seriously consider whether a local bench shop quote is the smarter call if you have not done this before.
Common mistakes people make
Not grounding before opening the case. Static discharge can kill components without any visible sign. Use an anti-static wrist strap, or touch a grounded metal surface before handling boards.
Using the wrong screwdriver and stripping heads. A compact driver set with the correct Phillips and Torx sizes saves more time than any tutorial video. Most stripped screws come from a single ill-fitting driver. Note also that the screws holding down a heat sink can look identical to those securing the keyboard bracket but are not interchangeable. Mix them up on reassembly and you will have a thermal problem that requires another full disassembly to trace.
Buying "Grade B" third-party batteries to save a few pounds. They fail quickly, swell unpredictably, and turn a cheap fix into a recurring cost. Spend slightly more on a reputable cell if you intend to keep the machine. When sourcing any HP laptop repair parts, cross-reference the HP Parts Store using your OEM part number and buy from authorised resellers where possible. Request written confirmation that OEM parts will be used before any work begins.
Decision Framework, Applying the Triage-to-Tool Ratio
Estimate the part cost, add a time cost based on your honest hourly rate, then compare that total to a realistic alternative: a similar second-hand machine or an entry-level replacement. If the repair comes out meaningfully cheaper and the processor is still capable, fixing it usually wins.
Rule of thumb (UK, 2024): if parts plus roughly two hours of your time comes in under approximately £100, and the laptop is under five years old with a 10th-gen Intel or Ryzen 4000 CPU or newer, the economics generally favour repair. Treat it as a heuristic, not a formula. Newer chips retain enough productivity value to justify the effort; older ones rarely do.
To make this concrete: say parts cost £65 and you estimate an hour and a half at £25 per hour, coming to around £103 all in. A comparable refurbished model costs £280 and the CPU is 11th-gen. The case for repair is clear. Your numbers will vary, but the logic holds.
Typical UK repair costs (2024 estimates) to use as benchmarks:
- Battery replacement: £25–£80
- Screen assembly: £60–£180
- Hinge repair: £50–£150
- Motherboard diagnostics and repair: £80+
Some repairs belong with a professional. Screen laminate replacements, hinge rivets, data recovery, anything involving corroded boards or stripped connectors, these carry a real failure risk that any honest cost calculation has to account for. Be honest about your risk tolerance too. If the diagnostics and numbers do not support DIY, get an itemised quote from an HP authorised service centre before ordering parts.
Frequently Asked Questions
What is the Triage-to-Tool Ratio?
The Triage-to-Tool Ratio is a framework for deciding whether HP laptop repair makes economic sense. It weighs parts cost and your time against the laptop's remaining useful life and practical value, helping you choose between DIY repair, professional service, or replacement.
What should I do before starting any HP notebook repair?
Then run the built-in UEFI diagnostics and note any error codes. Both steps can prevent unnecessary parts purchases and help you avoid voiding your warranty.
How do I perform a hard reset on my HP laptop?
Power down, disconnect the charger, and remove the battery if it is removable. Hold the power button for around 15 seconds to drain residual charge. For models with an internal battery, consult the service guide for your specific model before proceeding.
Why is the Maintenance and Service Guide important for parts sourcing?
The service guide provides exact OEM part numbers and component removal steps. Using it reduces the risk of ordering the wrong part, which is one of the most common and costly mistakes when searching by model name alone on online listings.
When should I consider professional help for an HP repair?
Seek professional help if the repair requires specialised tools, involves data recovery, or if you encounter corrosion, stripped screws, or complex connectors. The cost of expertise is a legitimate part of the calculation. It reduces risk and time lost, and there is no shame in factoring that in.